Rive Shaders Explained: What They Are and How to Use Them
For years, everything I made in Rive had the same look. Clean shapes, clean gradients, clean motion. That is the nature of a vector tool: every shape is a path, every fill is flat or a gradient, and the result is crisp at any size and light enough to ship anywhere. It is also why Rive work tends to look like Rive work. Smooth. A little too clean.
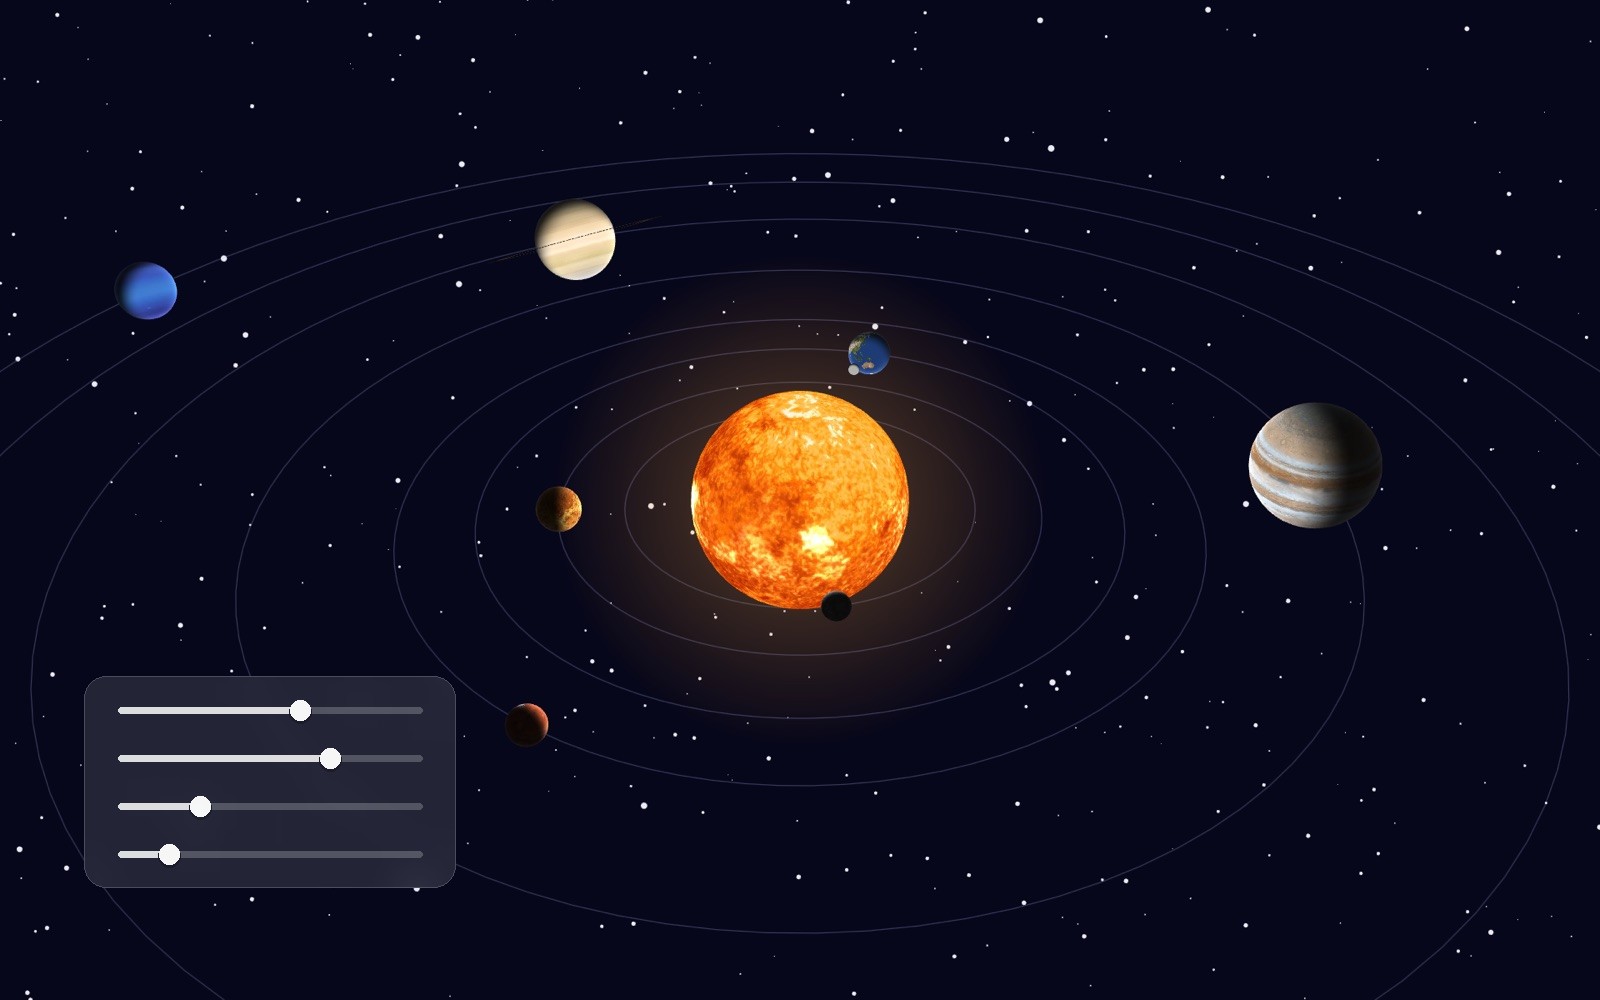
When I built the space game for the Scripting Course, that was the wall I kept hitting. The nebula behind the ship was a gradient pretending to be gas. The asteroid hit was a flash, because real fire in a vector tool means a PNG sequence, and a PNG sequence is heavy, fixed, and looks wrong the moment you scale it. I lived with the flat look because the alternative was leaving Rive.
Then GPU Canvas opened to everyone in September 2026, and the wall came down. The fire below is running live in your browser. So is everything else in this article. None of it is a video, none of it is an image, and every one of them exists as a real Rive file in the Rive Shader Library.
This is the explainer I give people who ask what just happened: what a shader is, why it changes how Rive work looks, what kinds exist, how one lives inside a Rive file, and when it is the right tool.
What a shader is
A shader is a small program that runs once for every pixel on the screen, every frame, and answers one question: what colour is this pixel?
That is the whole idea. It does not draw shapes. It has no timeline and no keyframes. It gets a position (where am I on the canvas?), a time (what frame is it?) and a few numbers you expose as inputs, and it computes a colour. The graphics card runs that little program for a million pixels at once, which is why a shader can do fire, water, light and noise at full frame rate, and why none of that was practical in Rive before.
If you have ever used a noise layer in After Effects or a gradient map in Photoshop, you have used the output of a shader. The difference in Rive is that the shader is yours: it sits in the file as a node, its inputs are in the inspector, and it plays wherever the file plays.
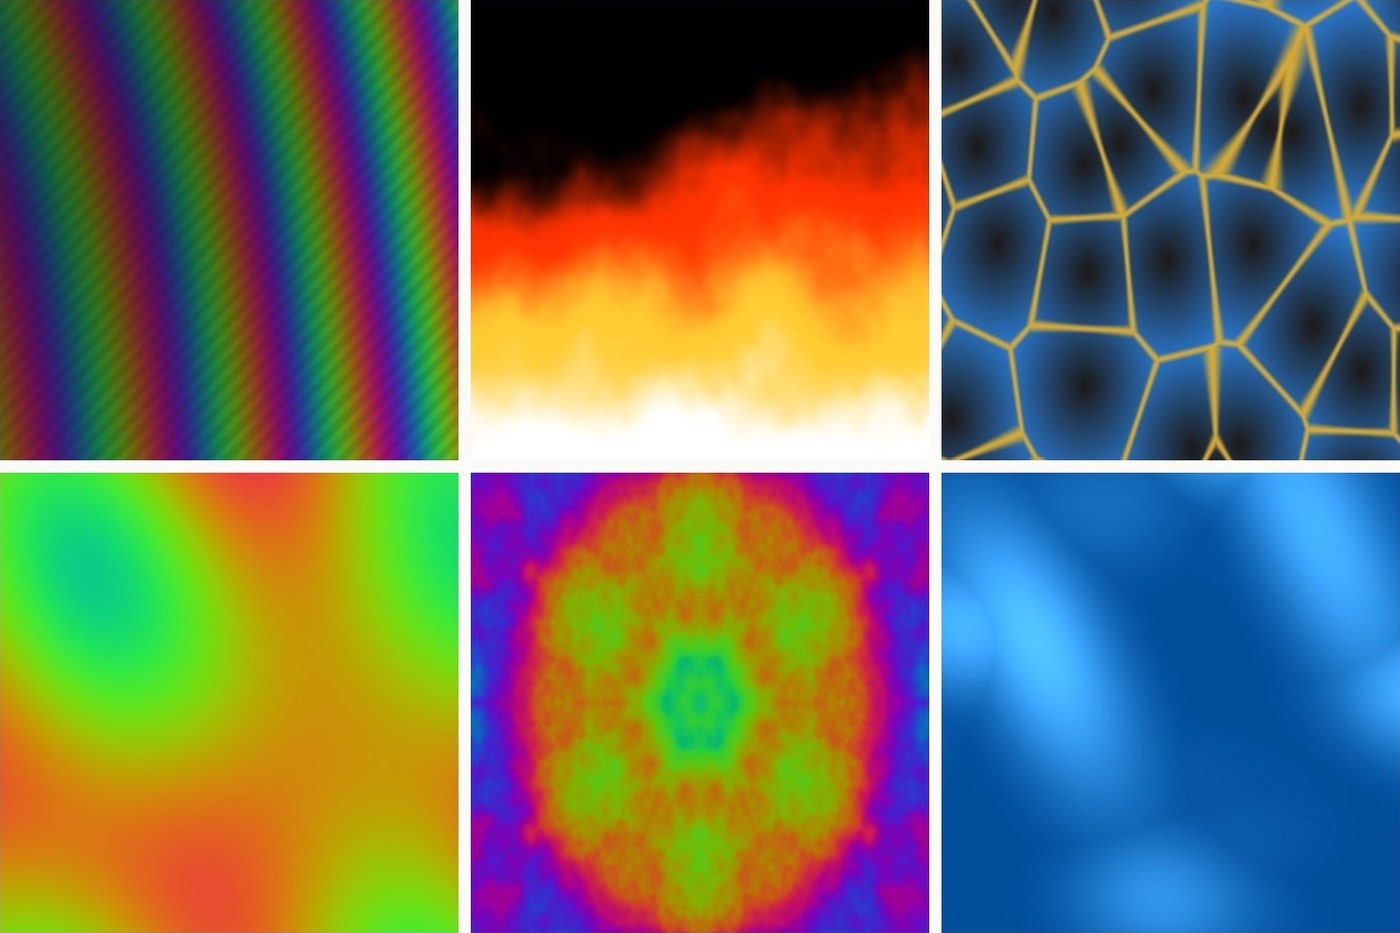
Here is the simplest useful one. Noise is the raw material of most organic effects: clouds, smoke, water, fire all start from some version of this. Move the knobs.
Why this matters in a vector tool
Here is the advantage, and it is bigger than fire.
Vector art is flat by design. A path has an edge, a fill has a colour, and between the edges there is nothing. Texture, grain, glow, the soft dirt that makes a painted image feel physical, all of that is pixel work, and pixel work has always meant importing a raster image. The moment you import one you pay twice: the file gets heavy, and the image is frozen. It cannot change with the animation, and it blurs when you scale it.
A shader gives you the pixel look without the pixels. The output is per-pixel, so it can be grainy, foggy, metallic, noisy, anything a photograph can be. But nothing is stored. There is no bitmap in the file, only the recipe, a few hundred lines of math that produce the image on the fly at whatever size the artboard is drawn. Scale it up and it is still sharp, because it was never a picture. Change an input and it changes, because it is computed every frame.
So a Rive file can now have a vector character standing in front of a nebula that looks like gas, on a metal panel that catches light, behind glass that ripples, and the file stays small and stays editable. The flat look is a choice now, not a limit. That is the shift.
The four families
Once you have looked at enough shaders, they sort themselves into a few families. Knowing the families matters more than knowing any single shader, because it tells you what to ask for.
Noise and texture. A random-looking field that moves smoothly over time. Noise, cells, marble, clouds. On its own it is a background. Combined with anything else it becomes weather, fire, terrain.
Motion. Shapes made of pure math: waves, rings, spirals, plasma. These do not need noise, they need a formula and a clock. They are the shaders people reach for when they want "something moving" behind a UI.
Rive Masterclass + Rive Scripting
Master Rive for real products.
Get Both for $219Both courses for $219. Save $49.


Rive Masterclass + Rive Scripting
Master Rive for real products.
Both courses for $219. Save $49.
Distortion. These take an image, or the artboard itself, and bend it: ripple, kaleidoscope, pixelate, chromatic split. This is where a shader starts to feel like a filter on top of your normal Rive work.
Light and material. Foil, metal, aurora, a moving light source. These are the ones that make people stop scrolling. The holographic card, the metallic badge, the sheen on a button. Almost all of them are a noise field feeding a colour spectrum.
And a fifth group that is really a way of using the others: screen effects. Scanlines, halftone, film grain, glitch. They sit on top of a finished scene and change its character without changing the scene.
How a shader lives in a Rive file
This is the part that is specific to Rive, and it is smaller than people expect.
A shader in Rive is two things: a text file in the shader language (WGSL), and a node that draws it. The node is a GPU Canvas node driven by a script. The script tells the graphics card "run this shader on a rectangle this big, with these numbers", and the numbers are the inputs you see in the inspector.
So every shader in the library is set up the same way in the Rive file: one artboard, one node, three or four inputs. Scale, speed, contrast for noise. Heat, turbulence, style for fire. Change an input and the effect changes live on the stage, and you can animate or data-bind those inputs like any other property in Rive. A timeline can push the fire's heat up when the asteroid is hit. A state machine can switch the glitch on for the boot screen and off after.
The Scripting Starter Kit
4 .riv source files from the tutorials + a scripting cheat sheet. Open them alongside the videos — that's how they're meant to be used.
That is the mental model I want you to keep: the shader draws, the inputs decide how. You almost never touch the shader code once it works. You work in the inspector, like everything else in Rive.
Two things to know before you build with them:
- A shader is a code file. Not scripting-course-level code where you describe a behaviour and the agent writes Luau; this is a smaller, stranger language where every line is math. You can ask Rive's agent for a shader and get something usable, but tuning a shader by prompt is slower than tuning it by knob. That is exactly why the library exposes knobs.
- A shader draws into a rectangle. To put it behind a scene, the node sits low in the hierarchy. To put it on a shape, you clip. To distort artwork, you feed the artwork in as a texture. The library files show the plain version, a full-artboard quad, because that is the one you will use most.
When a shader is the right tool
Not for everything. A shader replaces three things well:
- Image sequences. A looping fire, water or smoke animation exported as PNG frames is heavy and it is fixed. A shader is a few kilobytes and it never loops, because it is not a loop, it is a clock.
- Effects you cannot draw. Refraction, foil, real light falloff, film grain. You can fake some of these with blend modes and gradients; you cannot fake most of them well.
- Backgrounds that need to feel alive. Plasma behind a hero, a slow nebula behind a menu, a gentle wave under a card. Cheap on the GPU, expensive to animate by hand.
It does not replace character animation, UI motion, or anything with a shape you actually want to control point by point. That is still keyframes and constraints. The good files use both: an animated scene with one or two shaders doing the work that animation cannot.
Where to start
Play first. The Shader Library has all 28 running with their knobs, grouped by the families above, and each one has its own page you can send to someone. If you want one inside Rive today, the Noise shader is free as a Rive file: open it, look at the node and its inputs, drop the artboard into your own file.
The other 27 come with the Rive Scripting Course, as one library file with every shader on its own artboard. That is also where the fire, the glitch and the holographic stamp from the space game live, and where you see how a shader connects to a scene that already works. If you want the story of how those three landed in a finished game, that is in Shaders and 3D in Rive: what GPU Canvas changed in my space game.
Get more Rive tips
Weekly tutorials, new lessons, and Rive community highlights — no spam.