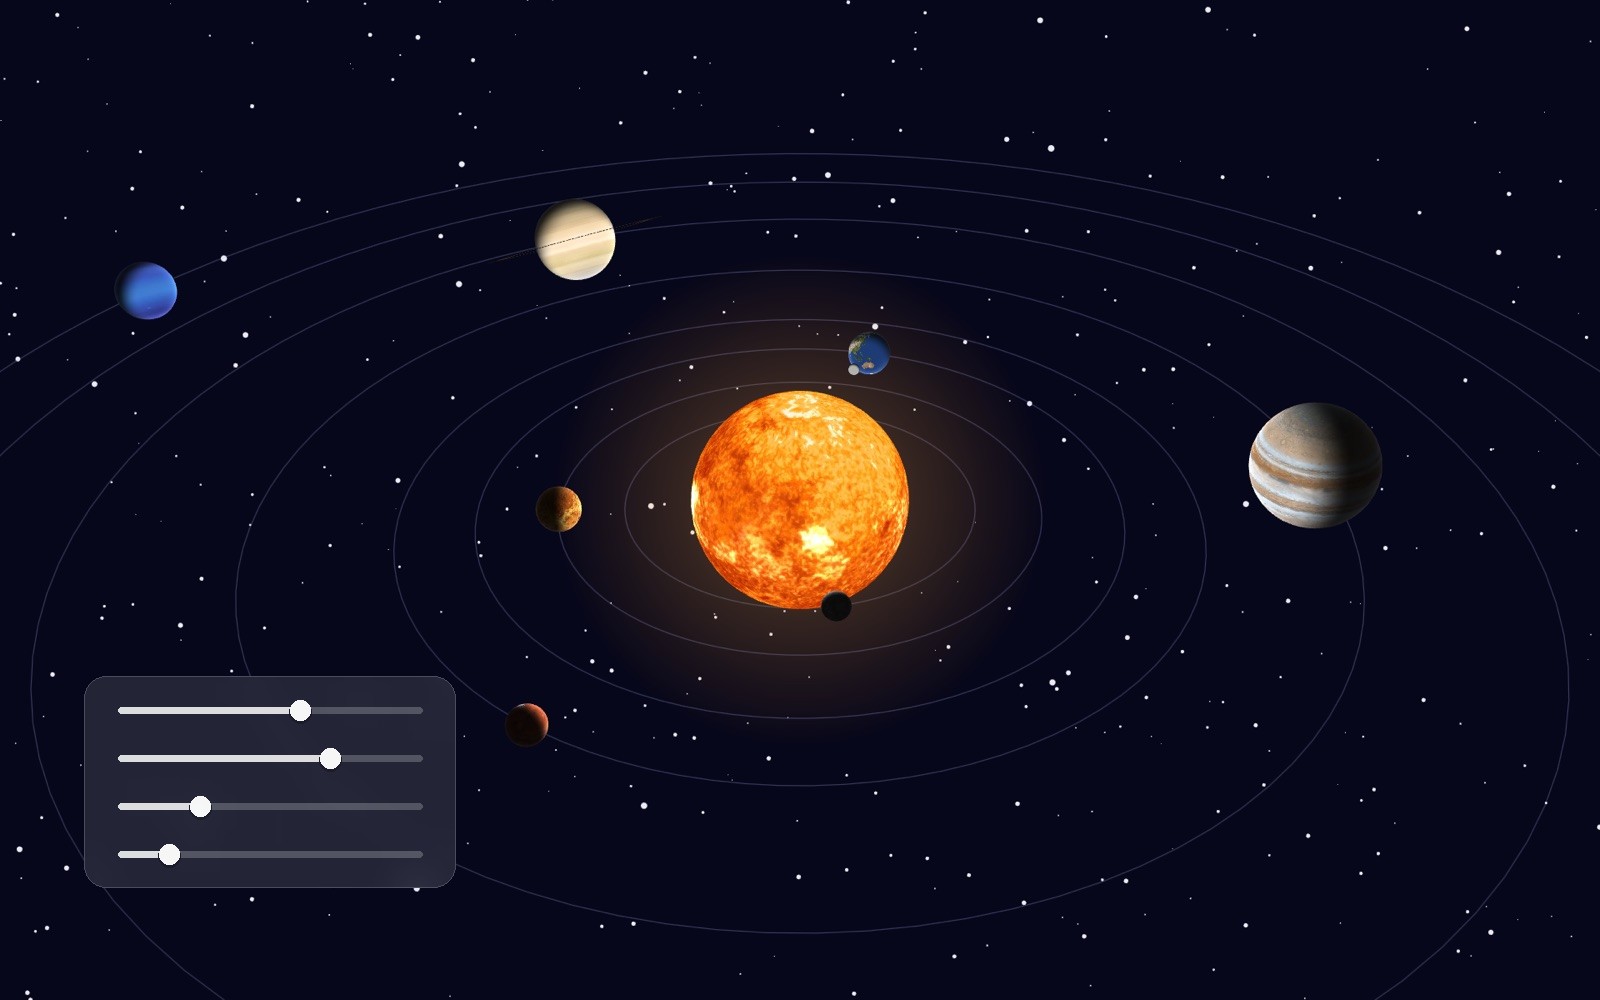
Shaders and 3D in Rive: What GPU Canvas Changed in My Space Game
Until this month, none of this was possible in Rive.
A fireball that burns exactly where the asteroid was hit. A start screen that boots with a glitch. A HIT stamp projected onto the cockpit glass, at the angle of the glass, in real 3D.
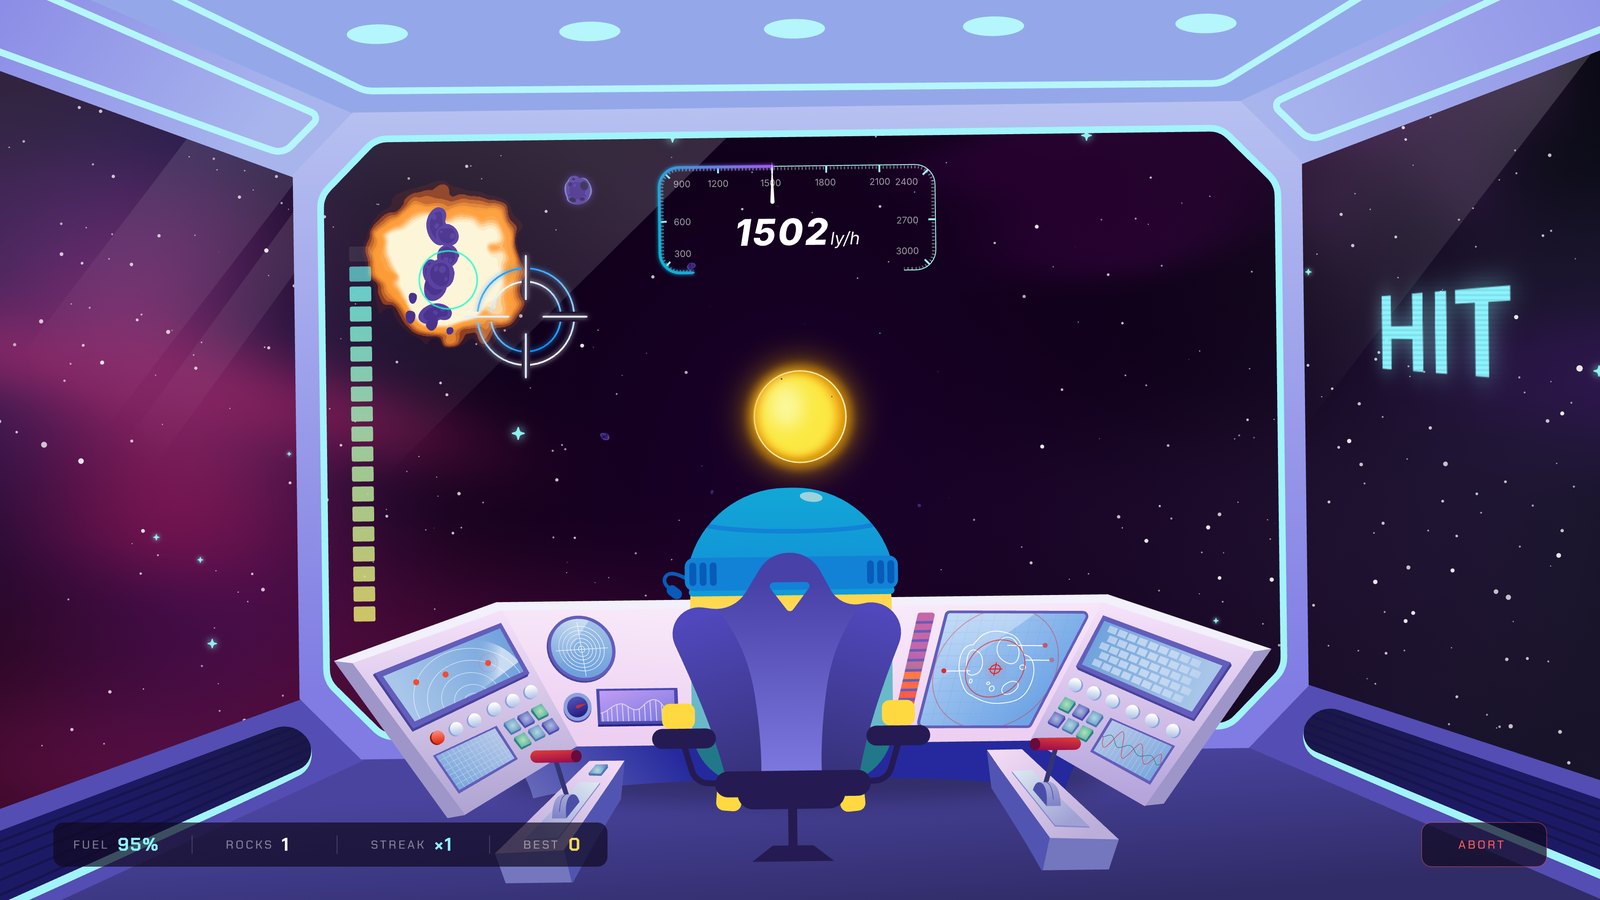
All of it runs inside one Rive file. No Blender, no After Effects, no game engine, no video. It is the same file you can play right now in your browser: Weather Buddy in Space.
That game is the project of my Rive Scripting Course. It starts from an empty artboard and grows one script at a time: the space travel, the planets, the nebula, the cockpit gauges, the lightning cannons, the asteroids, the hit detection, the fuel, and an autopilot that plays the game when nobody else does. Today the file holds 27 scripts and 3 shaders, over 9,000 lines of code, and I did not type any of it. Every script started as a description of what I wanted. The agent wrote it, and I tuned it until it was mine.
Then, on September 3rd, Rive took GPU Canvas out of early access. Shaders and real 3D, inside the editor. I had a finished game sitting there and a list of effects I had wanted for a year. This is what happened when the two met.
What a shader is, in one sentence
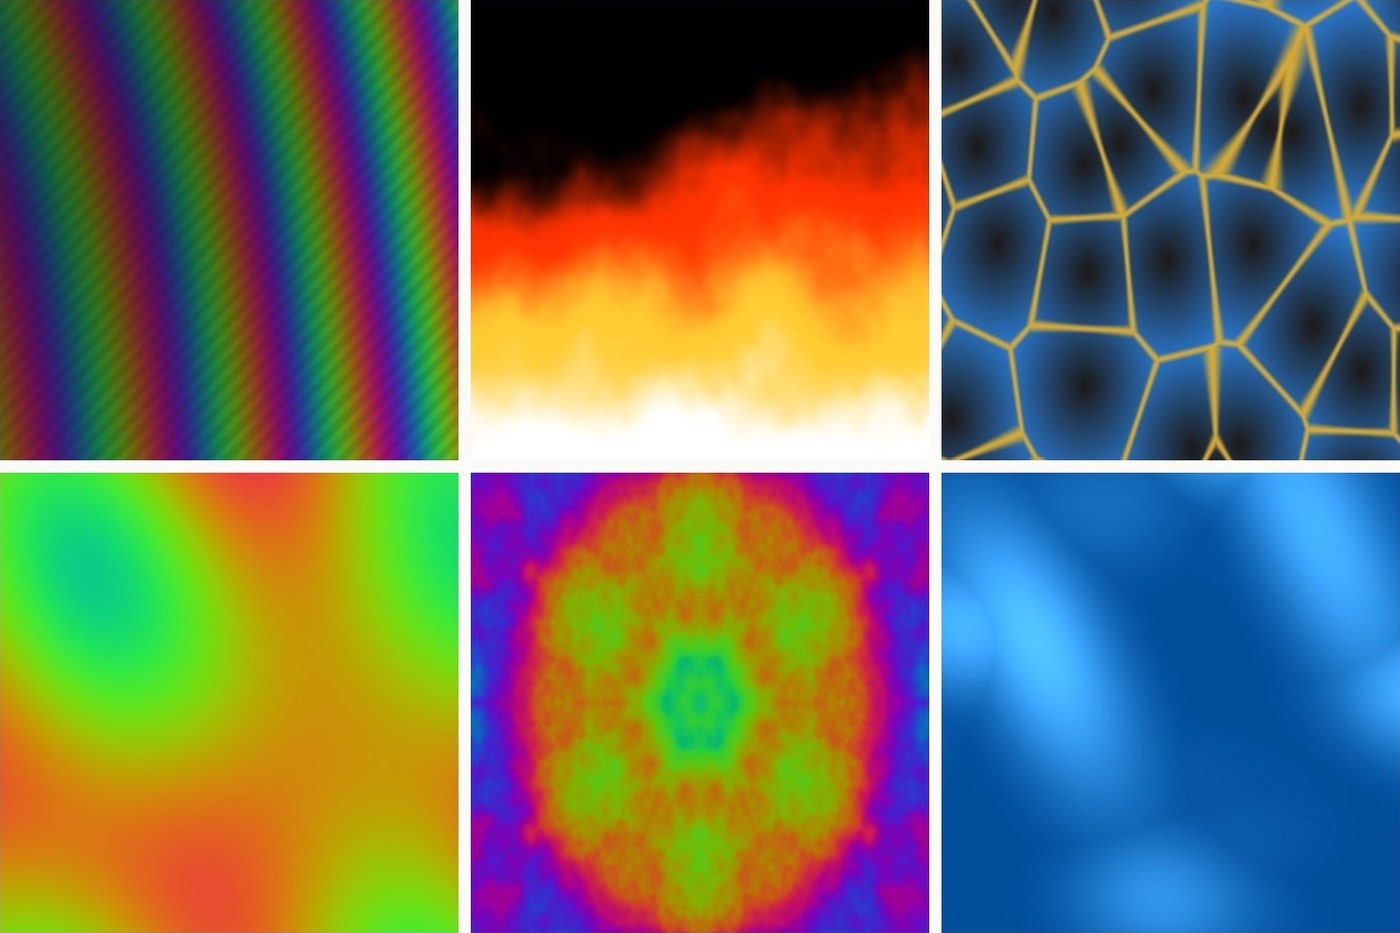
If you read the holographic card post you can skip ahead, and if you want the full picture, with 28 live examples, it is in Rive Shaders Explained. For everyone else: a shader is a tiny program that runs on every pixel of the screen at the same time and decides what colour that pixel should be. It does not draw shapes. It answers one question, millions of times, in parallel on the graphics card. That is why it can do fire, glitch, light and glass, and why none of that was practical in Rive before GPU Canvas.
The three below are real shaders, running in your browser as you read. Each has one slider, because that is how the Rive versions work too: the shader draws, an input decides how. You do not write shaders in the course. You describe them, the same way you describe every other script, and you tune what comes back. Which brings me to the fire.
The fire
I wanted this one for a long time. Shoot an asteroid and, instead of a flash, it goes up in flames. I always assumed I would fake it with particles, a lot of orange dots that read as fire from a distance. With GPU Canvas I asked for a shader instead, and this is what a fire shader is: no image, no frames, arithmetic per pixel. It is running live right here. Drag the slider.
The part I care about is not the shader. It is the inputs. The fire has a style slider: at zero it looks like real fire, at one it looks drawn. It has a core colour and an edge colour, so the same node gives me a blue, cosmic fire with two clicks. This is how every script in the course is built. Everything that matters is exposed as an input, so you tune the effect in the inspector, live, without opening the code.
And the fire knows nothing about the asteroids. It listens for a hit and lights up where it happened. One node, dropped into a game that already worked.
The glitch
The start screen already had my favourite script in the file: a decoder that scrambles random letters until the title locks in, one character at a time. It looked good. It also arrived a little flat, a little too immediate. What it needed was a transition, and a glitch effect I saw online was exactly that transition.
Here it is, live, on a stand-in of the start screen. The slider is the same strength input the Rive node has.
This one took time to get right. Too much and the screen looks broken. Too little and nobody notices. The strength input is what made that tuning possible. I nudged it up and down while the intro played until it felt like a signal locking in, not a bug.
Rive Masterclass + Rive Scripting
Master Rive for real products.
Get Both for $219Both courses for $219. Save $49.

Rive Masterclass + Rive Scripting
Master Rive for real products.
Both courses for $219. Save $49.
Notice what the shader is doing here. It is not drawing the start screen. The start screen is an ordinary Rive component, designed like anything else in the file. The shader takes it as a texture and glitches whatever it is given. Redesign the screen tomorrow and the glitch still works.
The hologram, in real 3D
Every shot in the game ends with a stamp, HIT or MISS. I wanted it projected on the cockpit window like a hologram, at the angle of the glass.
The 3D part I had already solved once, for the Pokémon-style card: take a flat artboard, stand it in 3D space, look at it through a perspective camera. The stamp is the same idea. You design HIT and MISS as a normal artboard, and one node puts it on the window in perspective.
The stamp is a flat artboard. The shader stands it up in perspective and lights it like a projection. Turn the glass.
And in the cockpit:
The Scripting Starter Kit
4 .riv source files from the tutorials + a scripting cheat sheet. Open them alongside the videos — that's how they're meant to be used.
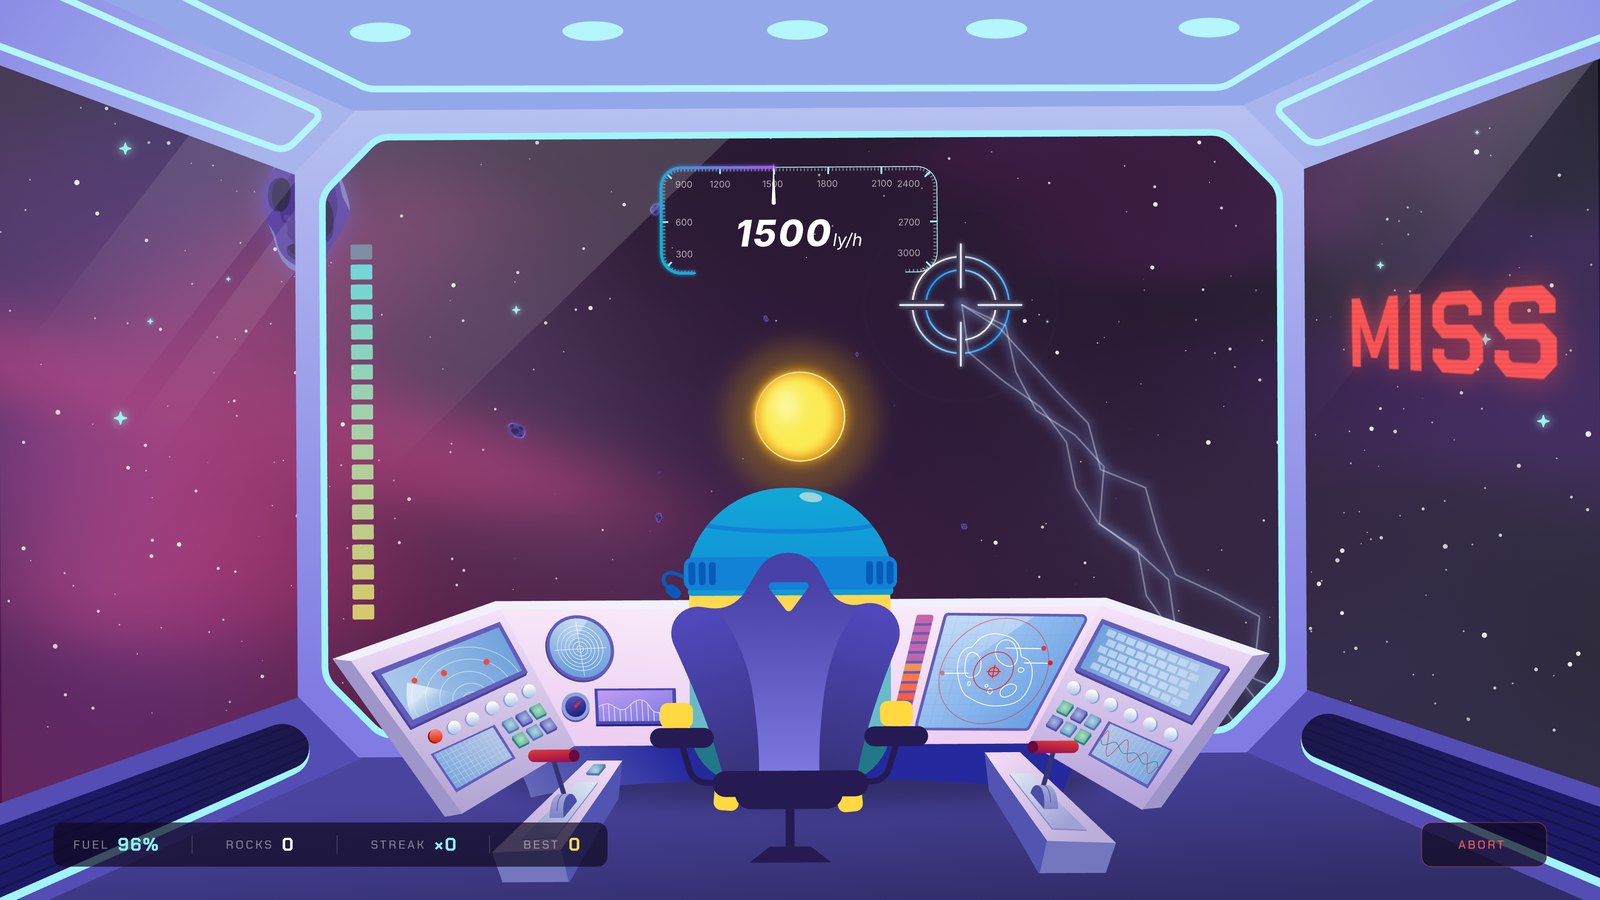
Hit three in a row and the stamp shows the streak. That is not the shader, that is the game talking to it through the ViewModel. Which is the part I actually want to talk about.
What it changes
Before GPU Canvas, Rive in my head meant vector animation with a State Machine, and, in the Scripting Course, vector animation with logic. Fire, glitch, glass, light, real 3D lived in other tools. If you wanted them in a product you exported a video or handed the job to a developer.
That line is gone. The fire, the glitch and the hologram are three nodes in the same hierarchy as the planets and the fuel bar. They read the same ViewModel, they respond to the same inputs, they ship in the same .riv file, and they run on the web, on iOS and on Android at sixty frames a second with no video anywhere.
For a designer, this is a change in what you get to own. A start screen, the explosions, the HUD, the sound, the idle mode, the game over: in a studio those are five different people. In this file they are one person, and the person is the designer.
What it changes in the course
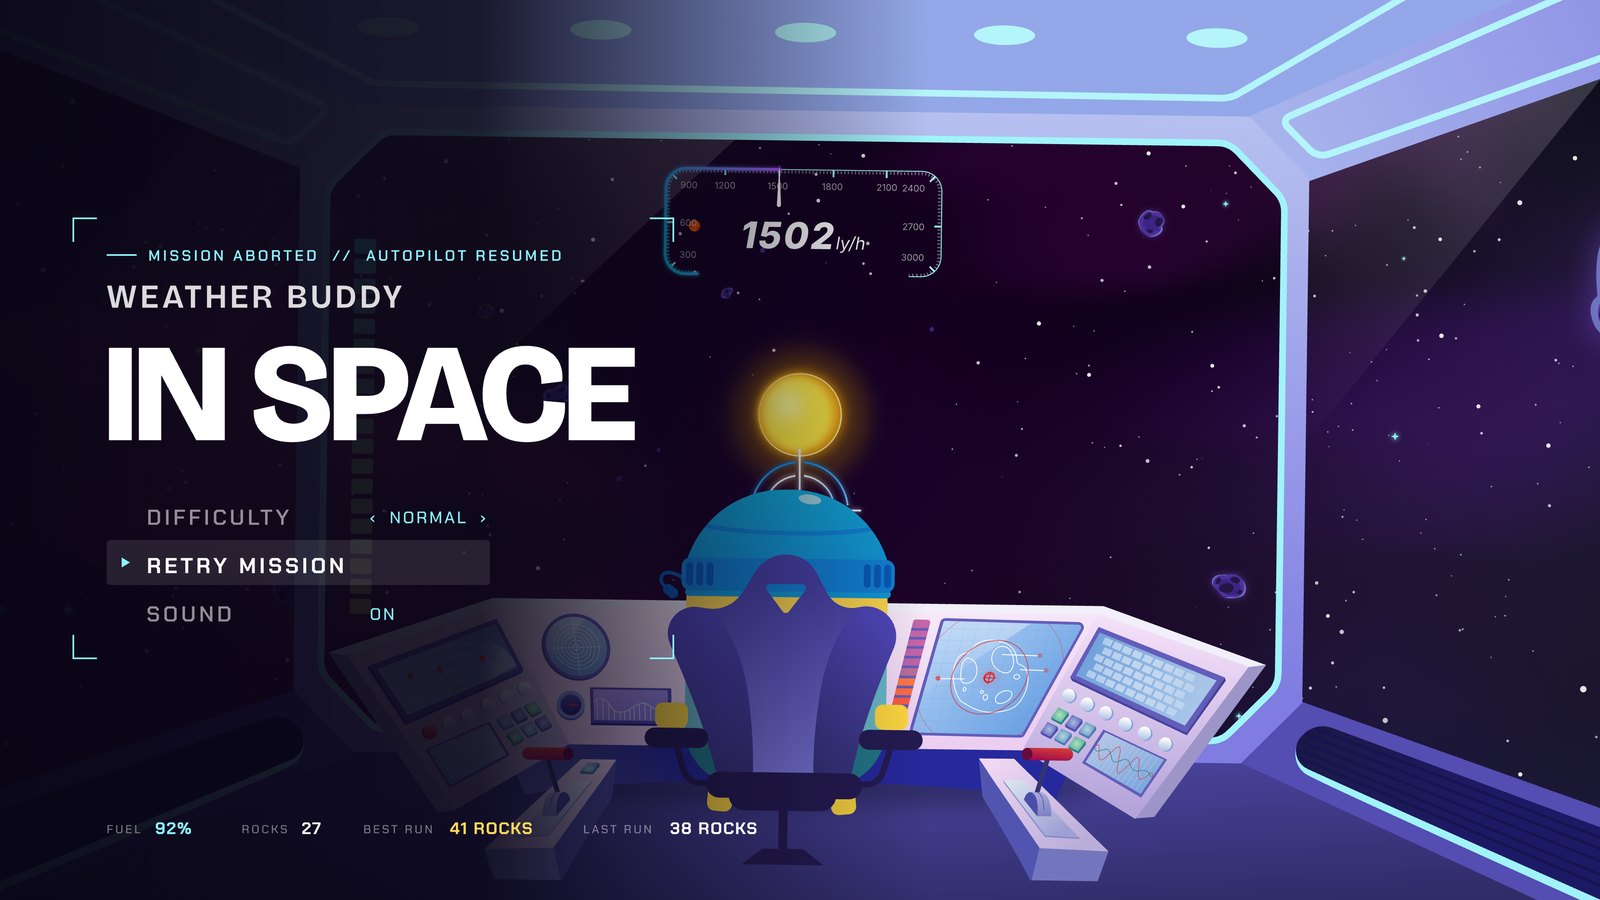
I decided the same week: this goes into the Rive Scripting Course, not as a bonus but as a track. Thirty eight lessons are live today. The explosion section, the hit, the debris and the fire shader, is recorded and rolling out over the coming weeks. The start screen, the game over and the glitch follow as the Gameplay section, and the 3D stamp closes it. If you already own the course, all of it is included.
The way you build does not change. You describe what you want, the agent writes the script, you tune the inputs until it is yours. I keep repeating that because it is the only reason a designer can put 27 scripts and 3 shaders into one game without becoming a programmer on the way.
Play it first
I also recorded a walkthrough of the file, ten minutes, opening every effect in the editor: watch it on YouTube.
The game is on the site: rivemasterclass.com/rive-scripting/game. Shoot a few rocks. Watch the fire, wait for the glitch on the way back to the menu, and keep an eye on the right window. Then, if you want to build it yourself, the course is here.
Get more Rive tips
Weekly tutorials, new lessons, and Rive community highlights — no spam.