Progress
🔥 Free Preview
Rive Basics - Animate
Create the Main Screen
Dynamic Weather Buddy
⚡️ Custom Events
🔗 Data Binding Basics
📝 Data Binding Basics - Exrc
🔗 Data Binding Advanced
🔗 Data Binding Expert | Main Project
👑 Data Binding Master
☀️ Weather Animation - Clear Skies
🌡️ Weather Animation - Heatwave
☔️ Weather Animation - Rainy
❄️ Weather Animation - Snowy (Exrc)
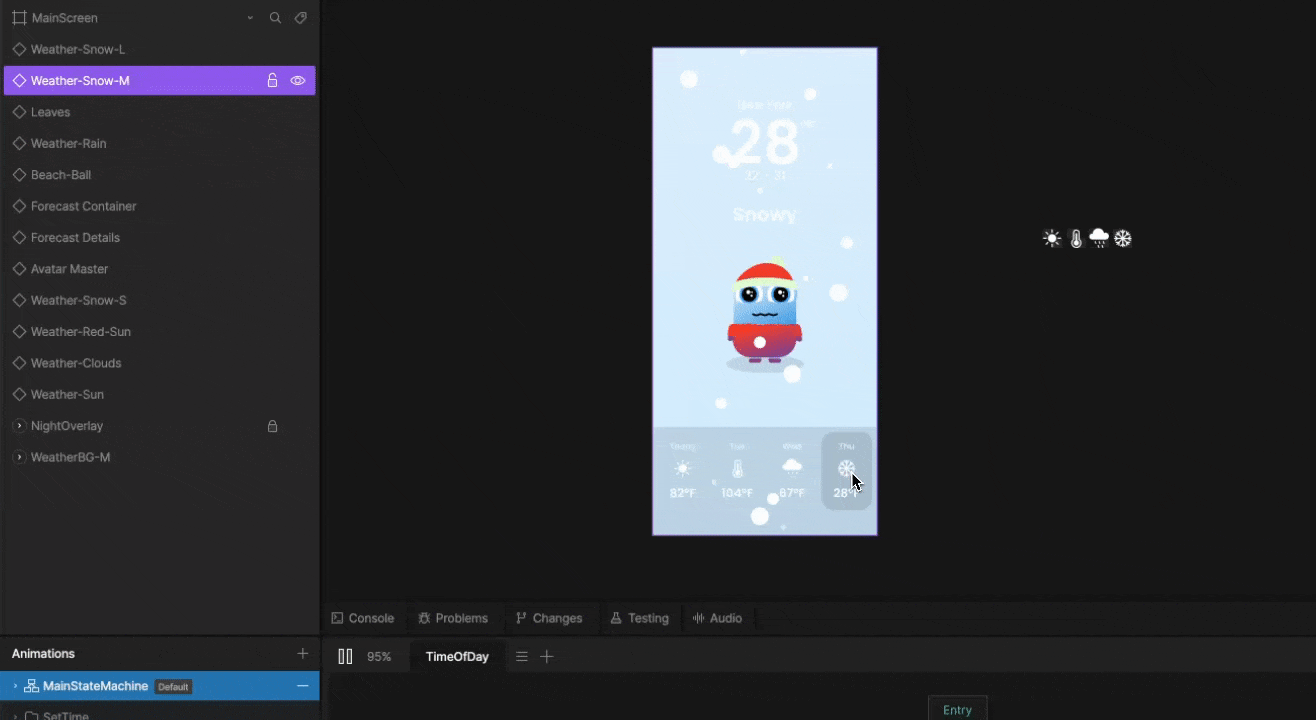
What We're Building
Two additional snow layers (Medium and Small) with different particle sizes and speeds to create a parallax depth effect.
Step 1 - Create the Medium Layer
Duplicate the Weather Snow component
Rename it to Weather Snow Medium
Resize all particles to 20 px

Step 2 - Adjust the Medium Layer
Spread the particles to different Y positions
Offset the keyframes differently from the large layer
Set the timeline Speed to 0.15

Step 3 - Create the Small Layer
Duplicate Weather Snow again
Rename it to Weather Snow Small
Resize all particles to 10 px
Spread and offset differently
Set the timeline Speed to 0.1

Step 4 - Add More Particles
Add 5 more particles to both the Medium and Small components to fill the scene, adjust their position and offset their timing.

Step 5 - Add to the Main Screen
Go to the main screen Artboard
Add Weather Snow Medium and Weather Snow Small components

Step 6 - Layer Order for Depth
Place the layers in the right order to create depth:
Small particles - behind the avatar
Medium and Large particles - in front of the avatar

Adjust as You Like
Add more snow particles, adjust the speed, change the position - whatever works for you
Speed Reference
Large: Speed 0.2
Medium: Speed 0.15
Small: Speed 0.1
What You've Built
Three snow layers with different particle sizes
Parallax depth through different animation speeds
Small particles behind the avatar for extra depth
Next: Part 3 - Snowman Animation.

Instructor
Add depth to the snowy scene using parallax layers that move at different speeds.
Snow Animation
Parallax Effect
Seamless Loop
Position Animation
Offset
Particle System