Progress
🔥 Free Preview
Rive Basics - Animate
Create the Main Screen
Dynamic Weather Buddy
⚡️ Custom Events
🔗 Data Binding Basics
📝 Data Binding Basics - Exrc
🔗 Data Binding Advanced
🔗 Data Binding Expert | Main Project
👑 Data Binding Master
☀️ Weather Animation - Clear Skies
🌡️ Weather Animation - Heatwave
☔️ Weather Animation - Rainy
❄️ Weather Animation - Snowy (Exrc)
In this assignment, we’ll take everything we’ve learned so far and apply it on your own — to practice working more independently with Data Binding.
The goal is simple:
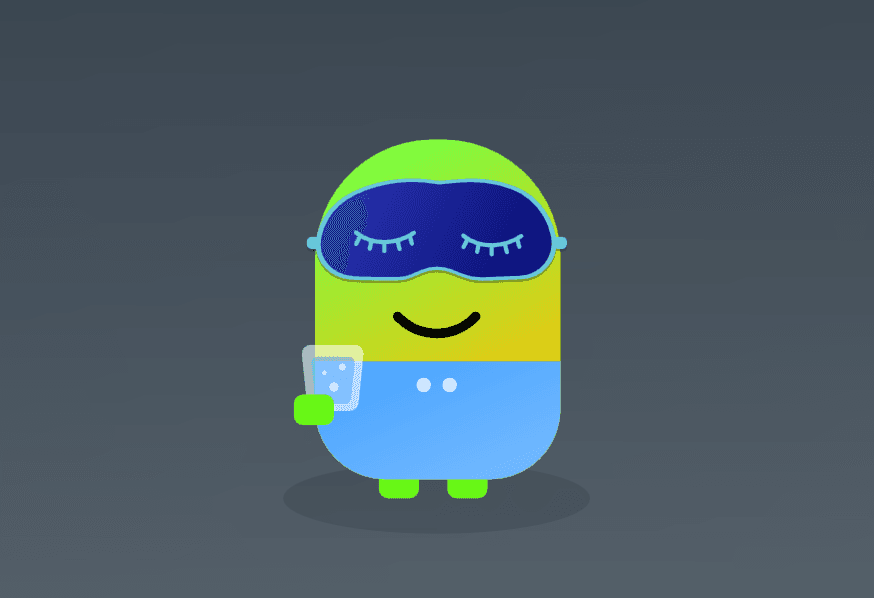
When Night Mode is ON, your avatar will wear a sleeping mask, and when it’s OFF, the mask disappears.
We’ll also make small visual adjustments for each avatar style to fit the night look.
🎯 What You’ll Do
Import the Mask Asset
You’ll find a file named sleep_mask.svg in the lesson page.
Import it into your Rive project and create a small artboard just for it.
This mask will be used as a nested component in each avatar.
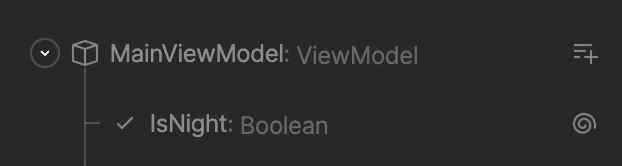
Convert the isNight Input to Data Binding
In your View Model, make sure isNight is now a bound property (Data Binding).
This way, you can connect it to multiple components across your project.
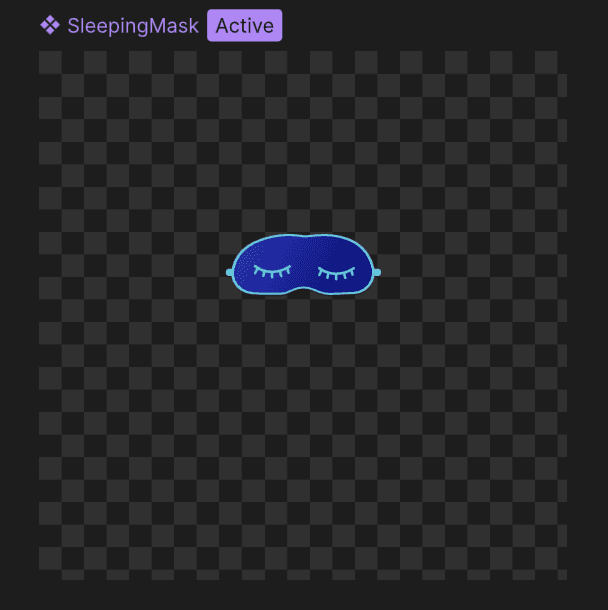
Create a dedicated SleepingMask Component (exact specs)
Create a new artboard named SleepingMask.
Size: 375 × 375 (the same bounding box as your Eyes component).
Import sleep_mask.svg into this artboard and position it so it naturally sits over the eyes when nested.
State Machine inside SleepingMask:
Create two states:
HideMask: mask hidden.
ShowMask: mask visible.
Transitions can be instant (no blend) to keep it snappy.
Visibility Logic:
Use Opacity or a Visibility Converter keyed to isNight:
isNight = true → show the mask (100% / visible).
isNight = false → hide the mask (0% / hidden).
Data Binding:
Use the IsNight Property for the state transitions
Don't forget to connect your Artboard to the MainViewModel
Add the Mask Component to Each Avatar
Inside each avatar (Clear, Heatwave, Rainy, Snowy), add the mask component.
Place is just above the eyes component
Adjust Each Avatar for Night Mode
In addition to showing the mask, each avatar needs small design adjustments:
Clear Skies & Heatwave → Hide the sunglasses at night (use Opacity).
💡 TIP: group the glasses shapes to a single group, and show/hide the entire group.
Rainy & Snowy → Hide the eyes entirely, since they stick out beyond the mask.
Each avatar should have two visual states: isDay and isNight.
Don't forget to connect each component to the view model
Update the Main Screen Overlay
Don’t forget the Night Overlay on the main screen!
Use the same isNight input to toggle it ON or OFF — just like the mask.
💡 Bonus Touches
Try adding a soft drop shadow (using Feather) to the mask for extra depth.
Keep layer names consistent so the bindings are clear (maskLayer, glasses, eyes, etc.).
Test the night mode toggle several times to make sure every component responds correctly.
📦 Files Included
sleep_mask.svg
Final result example
🧭 Final Notes
You’ll find the finished version of this assignment in the project folder if you’d like to compare or explore how I did it.
Pay attention to:
The isNight binding in the View Model.
The mask component logic inside each avatar.
The day/night visibility setup across the avatars and main screen.
Feel free to experiment, and if you get stuck — you can always open the solution file or ask questions in the course comments.

Instructor
In this bonus exercise, create a night mode for the avatar so when the time changes, it sleeps.