How to Turn a Rive File Into a Real App with AI (Cursor + Flutter)
You built something interactive in Rive. It reacts, it animates, it feels like a real product. And then it just sits there, inside the Rive editor. For a long time, the jump from a Rive file to a real app on your phone meant handing everything over to a developer.
It doesn't anymore.
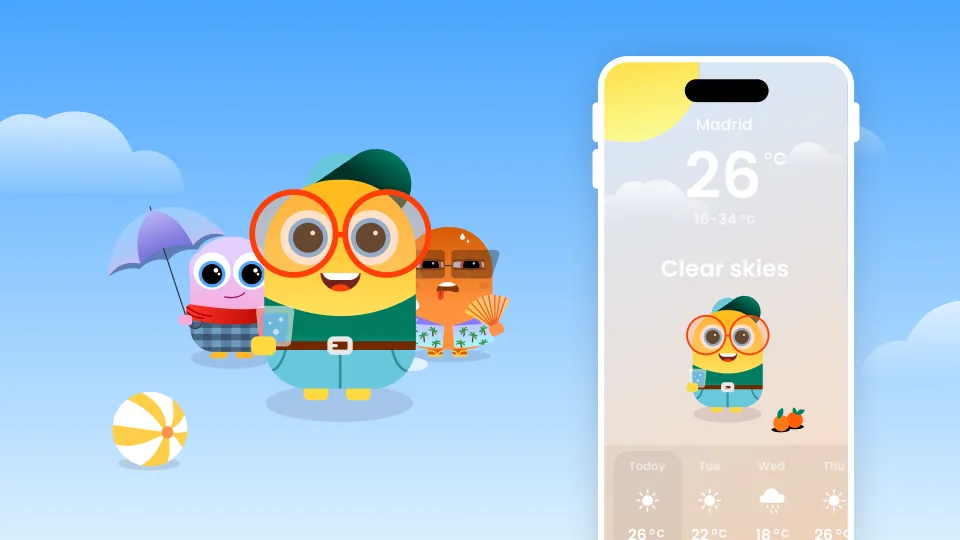
In this tutorial I take a finished Rive file, the weather app I build step by step in the Rive Masterclass, and turn it into a real mobile app for iPhone and Android using AI. No code written by hand. Just Rive, an AI coding tool, and a handful of prompts.
One thing up front: I'm not teaching you how to build the Rive file here. The point is the opposite. Whatever you already have in Rive, a complex data-bound app or the simplest animation, this is how you get it running on a real device.
What you'll need
- A finished Rive file (any project works, simple or complex).
- An AI coding tool. I use Cursor because it has a free tier, but Codex or any similar tool works the same way.
- A simulator. On Mac that's the iPhone simulator through Xcode. On Windows, the Android emulator through Android Studio.
Step 1: Export your Rive file
Everything you build lives inside the Rive editor. To run it in an app, you export it to a Rive runtime file. Think of it like exporting a PNG out of Photoshop: it's the final, compiled version your app loads, and you can't keep editing it. Create a dedicated folder somewhere convenient, like your Documents folder, and export the file there. That folder is where the whole app will live.
From here on, you barely touch Rive. The rest happens with AI.
Step 2: Let AI build the app
Open your project folder in Cursor and give it the first prompt. The trick is context: tell it you're a designer, tell it which file to use, and tell it exactly how to run.
I'm a designer, not a developer. Please handle all the technical work and explain everything in simple terms.

My project folder contains a Rive file called [YOUR_FILE.riv]. I want to build a mobile app for both iPhone and Android.

For now, the entire app is a single full-screen Rive file. No menus, no settings, no extra UI, just the animation filling the screen.

Use the artboard named "[ARTBOARD_NAME]" and the state machine named "[STATE_MACHINE_NAME]". Do not use the default artboard.

The animation is responsive, so set the fit mode to "layout" (not "contain") so it adapts to any screen size.

When you're done, run the app in the [iPhone simulator / Android emulator].
Give it a few minutes. It picks a framework (Flutter, in my case), generates the whole project, copies your Rive file into it, and launches it in the simulator on its own.
Rive Masterclass + Rive Scripting
Master Rive for real products.
Get Both for $219Both courses for $219. Save $49.

Rive Masterclass + Rive Scripting
Master Rive for real products.
Both courses for $219. Save $49.
Step 3: Connect your data binding
If your Rive file uses data binding, the AI won't always wire it up on its own. The fastest way to fix that is to show it your structure directly: take a screenshot of your data panel and paste it into the prompt.
Here is a screenshot of my Rive file's data panel. [attach screenshot]

My Rive file uses data binding, and I want you to connect the app to this data structure.

My view model contains: [describe your top-level fields].
Each [item] contains: [describe its fields].
I also use an enum with these options: [list your enum values].

To confirm the binding works, change [one field] to [one value] and keep everything else the same. If that single value updates in the app, the binding is connected.
That last line matters. Asking the AI to change one specific value is a quick, honest test that the data is actually flowing.
Step 4: Connect it to real, live data
Once the binding works, you can point the app at a real source, a live API, a backend, whatever you're building on. In the video I connect the weather app to a live weather service, so it pulls the real forecast for the user's location. On a device it uses the real GPS. In the simulator you just set a test city.
The full prompt for this step, plus the ones for locking orientation, filling the screen, fixing the startup flash, and setting your app icon, are all in the free pack below.
The part that actually matters
Here's what nobody tells you: the AI is the easy part. It can write all the code you need. What it can't do is build you a clean Rive file with a data structure it can actually connect to. That work happens before you ever open Cursor, in how you name your artboards, structure your view model, and set up your data binding.
That's the real skill, and it's exactly what the Rive Masterclass is about. The reason this whole workflow feels so smooth is that the file was built for it.
Get the prompts
I packaged every prompt from this tutorial as a ready-to-copy pack, so you can drop them straight into Cursor or Codex and adapt the placeholders to your own file.
Get the full prompt pack, free: rivemasterclass.com/app-prompts
And if you want to learn how to build interactive Rive files like this one, from animation to state machines to data binding, that's what I teach, start to finish, in the Rive Masterclass.
Get more Rive tips
Weekly tutorials, new lessons, and Rive community highlights — no spam.