How to Embed a Rive Animation on Your Website
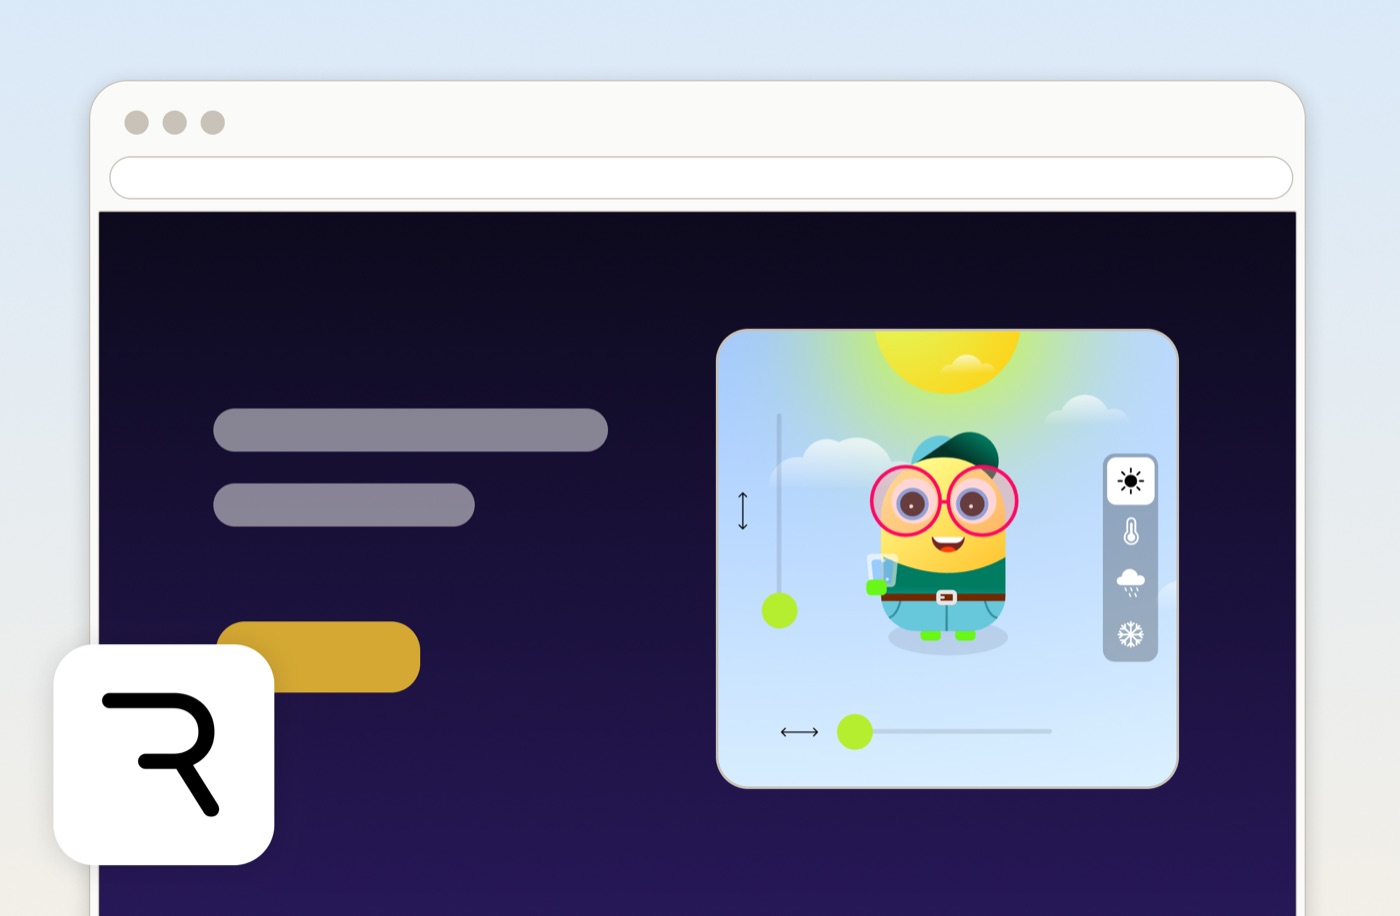
A .riv file is not a picture. It is a live, interactive animation that stays sharp at any size and weighs a fraction of a video. That is exactly why you cannot drop it onto a page like an image and expect it to play. It needs a small player to bring it to life.
The good news: you do not need to be a developer to add one. This guide walks through it step by step, in plain language, and points out the few things that decide whether your animation looks great or quietly breaks.
If you just want the code, our free Embed Rive on Your Website tool writes it for you. Read on to understand what it is doing.
First, what "embedding" actually means
When you embed a Rive animation, you are not uploading a video. You are placing a tiny live player on your page and pointing it at your animation file. The player does all the work: it runs the animation, handles the interactivity, and keeps it sharp on any screen.
That player sits inside something called an iframe. An iframe is just a small window that shows one web page inside another. Here, the inner page is our Rive player, and it is displaying your file. You paste one short line of code, and the window appears wherever you put it.
Why not just export a video or GIF
It is tempting to export your animation to an MP4 or a GIF and treat it like any other image. You lose three things when you do:
- Interactivity. Hover, click, and state changes are gone. A video just plays.
- Sharpness. Rive draws live, so it stays crisp on any screen at any size. A GIF is a fixed grid of pixels that blurs when it scales and looks dated on modern displays.
- File size. A looping animation that is a few kilobytes as a
.rivbecomes megabytes as a video or GIF, which slows your page down.
Embedding the real .riv keeps all of that. It is the difference between shipping the animation and shipping a screenshot of it.
Embed your animation in 5 steps
Step 1. Put your .riv file online. The player loads your file from a link, so the file needs to live on the internet with its own web address, not just on your computer. Putting a file online like this is called hosting.
There is one catch worth knowing. The place you host it has to allow other websites to load the file. This permission has a technical name, cross-origin loading (or CORS), but it just means "yes, other sites are allowed to use this file." Some places block it, which is why an animation can show up blank even when the link looks fine.
Two free hosts handle both the hosting and this permission with no setup:
- GitHub. Put the file in a public repository, open it, and click Raw. Copy that link.
- jsDelivr. It turns any public GitHub file into a fast link like
https://cdn.jsdelivr.net/gh/user/repo/animation.riv.
What does not work: Google Drive and Dropbox share links. Those open a preview page, not the file itself, and they do not give the permission above. If your embed is blank, a bad link is the first thing to check.
Step 2. Load your file in the tool. Open the Embed Rive on Your Website tool, paste your link, and press Load. Your animation shows up in a live preview.
Step 3. Choose how it fits. Pick a fit and a size. The preview updates as you go, so you can see exactly how it will look (there is more on fit below).
Step 4. Copy the code. The tool writes the embed code for you. Click Copy. You do not need to read or understand it.
Step 5. Paste it into your page. Drop the code where you want the animation to appear. In Webflow, Framer, WordPress, and most site builders, this is an "Embed" or "Custom HTML" block. Save, and your animation is live.
That is the whole thing. The code the tool gives you looks like this:
<iframe
  src="https://www.rivemasterclass.com/player.html?src=https://your-site.com/animation.riv&fit=contain"
  width="600"
  height="400"
  style="border:0;background:transparent"
  loading="lazy"
  allowfullscreen
  title="Rive animation"
></iframe>
Everything below is about making it look right and stay fast.
Choose the right fit
The fit setting decides how your animation sits inside the box you give it:
- Contain. Shows the whole animation, scaled to fit, with empty space if the shapes do not match. The safe default.
- Cover. Fills the box completely and crops whatever overflows. Good for backgrounds and hero areas.
- Fill. Stretches to fill the box exactly. Easy to distort, so use with care.
Start with Contain, then try Cover once your box matches the animation's shape.
Make it responsive
Your layout changes width between phone, tablet, and desktop. There are two levels of "responsive," and it helps to know the difference.
The simple level: a flexible box. Instead of a fixed width and height, you wrap the player in a box that keeps its shape and stretches with the page. The animation scales up and down cleanly. The tool can hand you this responsive version of the code, sized to your artboard's real proportions so nothing gets clipped.
Rive Masterclass + Rive Scripting
Master Rive for real products.
Get Both for $219Both courses for $219. Save $49.


Rive Masterclass + Rive Scripting
Master Rive for real products.
Both courses for $219. Save $49.
<div style="position:relative;width:100%;aspect-ratio:3/2">
  <iframe
    src="https://www.rivemasterclass.com/player.html?src=https://your-site.com/animation.riv&fit=contain"
    style="position:absolute;inset:0;width:100%;height:100%;border:0"
    loading="lazy"
    title="Rive animation"
  ></iframe>
</div>
The deeper level: Layout in Rive. Simple scaling grows or shrinks the whole animation as one piece, like zooming a photo. Rive can do more than that. Using Layout in the Rive editor, you design your animation so its parts actually rearrange and resize to fit their container, the way a real interface does. A button can stay pinned to a corner while a background stretches, and text can stay put while the frame around it grows.
Here is the important part: this only works if you build it that way in Rive. Layout is a design decision you make while animating, not a switch you flip on the embed. If you set your artboard up with a responsive layout, the embed will reflow to any size. If you did not, simple scaling is all you get, and for most animations that is perfectly fine.
So: for a hero or a decorative loop, scaling is plenty. For something that needs to feel like part of your interface at every size, build it with Layout in Rive first, then embed it.
Your newest Rive features will show up
Rive keeps adding features: Layout, meshes, shader effects, data binding. These only appear on an up-to-date player. Older or lighter players quietly skip what they do not recognize, so your animation can turn up missing effects with no warning. Our player runs the current Rive runtime (the piece of software that actually plays the file), so the embed shows your animation the way you built it. If you ever get a different embed and effects go missing, an outdated player is usually why.
Keep the file light
Your .riv downloads every time someone opens the page, so its size affects your load time. A few habits keep it small:
- Remove artboards, animations, and images you are not actually using.
- Avoid heavy fonts. If you only need a few characters, subset the font or use a system one.
- Compress any bitmap images before you import them, or use vector shapes instead.
A small file is one of the main reasons to embed Rive instead of a video. Do not give that advantage away.
Update the file without the old one sticking
Browsers keep a saved copy of your file so it loads fast next time. The downside: when you upload a new version, people can keep seeing the old one for a while. To force the fresh version, change the link slightly whenever the file changes:
- Add a version to the end:
animation.riv?v=2, then?v=3. - Or rename the file:
animation-v2.riv.
Either one makes the browser treat it as new and load it again.
It stays interactive
The embed is not a passive clip. If your file has a state machine, it runs inside the frame, so hover, clicks, and pointer tracking all work for your visitor. That is the whole reason to use Rive on the web instead of a recording.
What the embed cannot do is talk to the rest of your page. It plays and responds on its own, but it does not know anything about your site. That is perfect for a showcase, a hero animation, or a decorative loop.
When you need live data (a note for your developer)
An embed shows your animation and lets people interact with it. It cannot feed it live information from your site. If you want a gauge that shows a real number, a label with a real name, or colors that follow a user's theme, you are no longer using Rive as a picture. You are driving it with data, and that takes a little code.
Instead of the iframe, a developer loads the file with the Rive runtime and sets its values directly:
import { Rive } from "@rive-app/webgl2"

const rive = new Rive({
  src: "https://your-site.com/animation.riv",
  canvas: document.getElementById("rive-canvas"),
  autoBind: true,
  stateMachines: "State Machine 1",
  autoplay: true,
})

rive.on("load", () => {
  const vm = rive.viewModelInstance
  vm.number("temperature").value = 21
  vm.string("city").value = "Tel Aviv"
})
The rule of thumb: use the embed for showcase and decoration, and bring in a developer with a few lines of code when you need live data. Both start from the same .riv.
Wrapping up
Embedding a Rive animation is quick once you know the moving parts: put the file online, pick a fit, make it responsive, keep it light, and refresh the link when you update. Do that and you get a sharp, interactive animation at a tiny fraction of a video's weight.
Start with the free Embed Rive on Your Website tool to get your code. And if you want to build animations like these from scratch, from first principles through data binding, that is what the Rive Masterclass is for.
Get more Rive tips
Weekly tutorials, new lessons, and Rive community highlights — no spam.