Rive Scripting Tutorial: Make Any Script Responsive with Data Binding
Rive Scripting Tutorial: Make Any Script Responsive with Data Binding
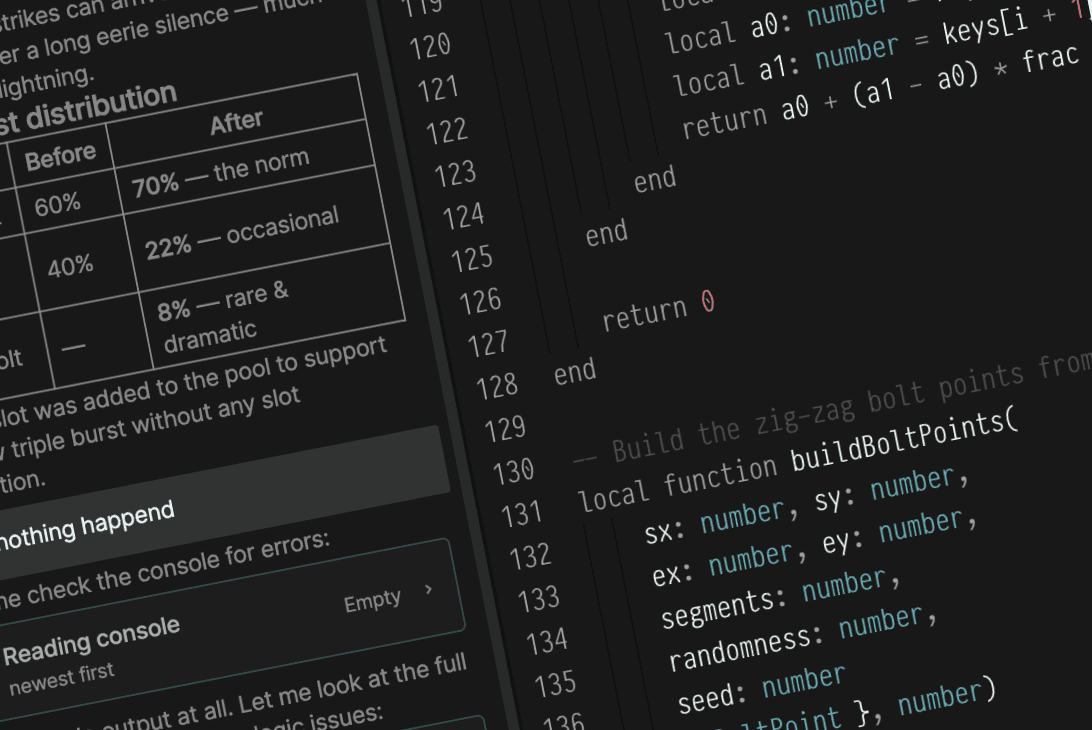
Rive scripting enables creation of effects beyond built-in tools—particle systems, procedural effects, and dynamic visuals. However, most scripted effects face a common limitation: they're static. Resizing the artboard breaks the effect, and adjusting parameters requires code editing.
The Principle: Expose What Might Change
The solution involves exposing changeable values as inputs and connecting them to Rive's Data Binding system. Not all values need exposure—only those you'd want to adjust without touching code.
Different effects require different inputs:
- Particle systems: Speed, particle count, artboard dimensions
- Path distortion effects: Intensity, speed, detail level
- Background animations: Speed and color values
- Full-screen effects: Artboard width and height
A Practical Example: Space Travel Effect
A space travel effect with stars flying from the center benefits from these inputs:
- Artboard width and height - determines center position and star travel distance
- Speed - controls star movement velocity
- Particle count - scales star quantity to artboard size
- Artboard component input - allows spawning components without hardcoding
The Problem: Inputs Alone Aren't Enough
Rive Masterclass + Rive Scripting
Master Rive for real products.
Get Both for $197Both courses for $197. Save $50.


Rive Masterclass + Rive Scripting
Master Rive for real products.
Both courses for $197. Save $50.
The Scripting Starter Kit
4 .riv source files from the tutorials + a scripting cheat sheet. Open them alongside the videos — that's how they're meant to be used.
Setting input values in the Properties panel doesn't create live responsiveness. Resizing the artboard leaves script parameters unchanged, breaking the effect's visual integrity.
Connecting Inputs Through Data Binding
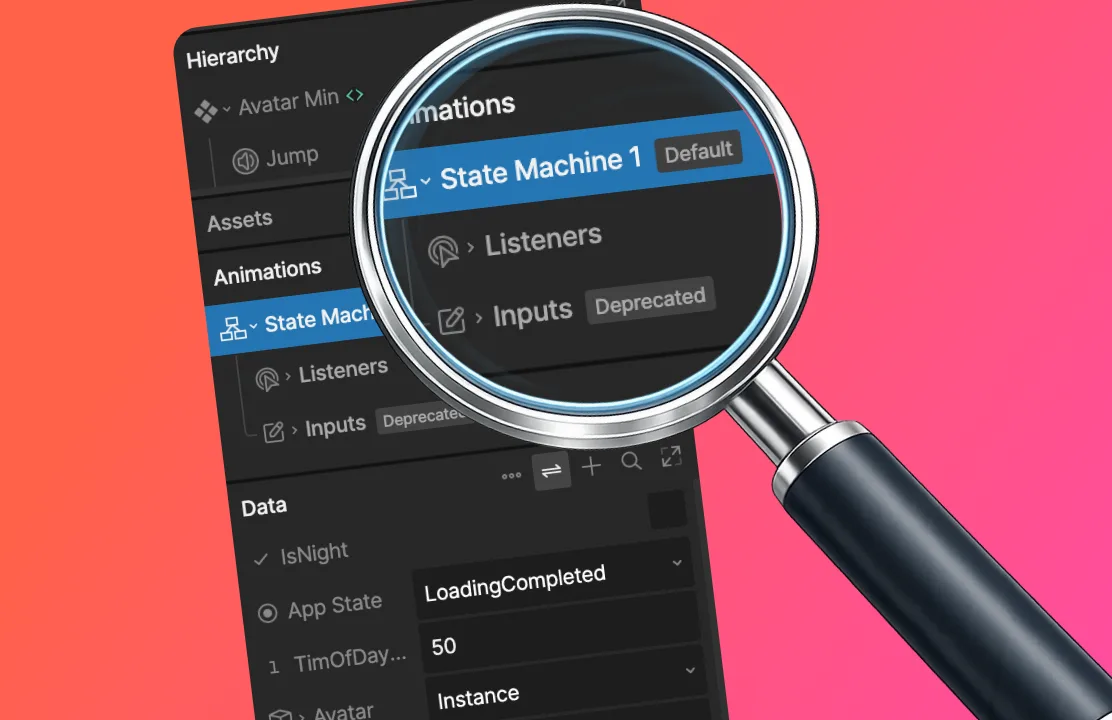
Data Binding uses ViewModels—containers holding properties that connect file components. The process:
- Create a ViewModel with properties matching script inputs
- Set default values
- Bind script inputs to ViewModel properties
Target to Source: The Key Step
The crucial step involves binding the data source to the ViewModel with proper direction. When "artboard is the source of truth," resizing automatically updates the ViewModel, which refreshes the script.
Keeping Design Elements Aligned
Apply Transform Constraints to design elements that should remain centered when the artboard resizes, linking them to the artboard with 50% origin on both axes.
The Pattern
A reusable framework for any scripted effect:
- Identify changeable parameters (screen size, speed, intensity, colors)
- Expose these as inputs
- Create a ViewModel with matching properties
- Bind script inputs to ViewModel properties
- Bind the data source to ViewModel using appropriate direction
- Add Constraints for aligned design elements
Get more Rive tips
Weekly tutorials, new lessons, and Rive community highlights — no spam.